前言
终于开始搭载个人博客了,这里详细记录了此博客的所有安装过程。包括各类插件的作用、部分配置文件的尝试、front-matter等等。
安装
环境安装
1 | sudo npm install hexo-cli -g |
安装
1 | hexo init |
完成后记得要
1 | npm install |
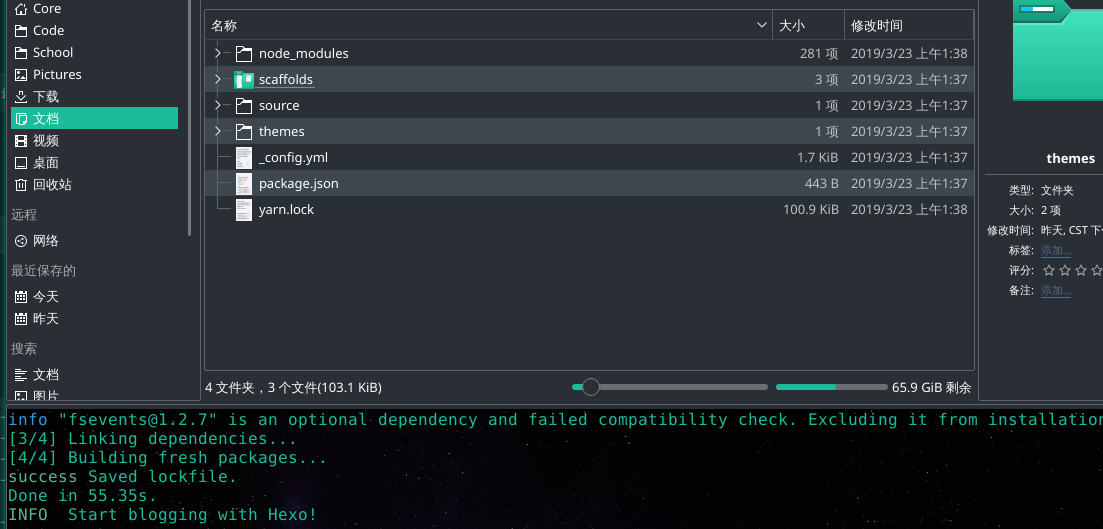
然后访问localhost:4000就可以看到已经安装好的博客在本地躺着了。
插件
1 | npm install --save hexo-deployer-git |
hexo-deployer-git
它是用来一键deploy到git上的,比如github主页就可以用它,需要在hexo目录下的config文件配置如下(仓库改成自己的):
1 | deploy: |
hexo-asset-image
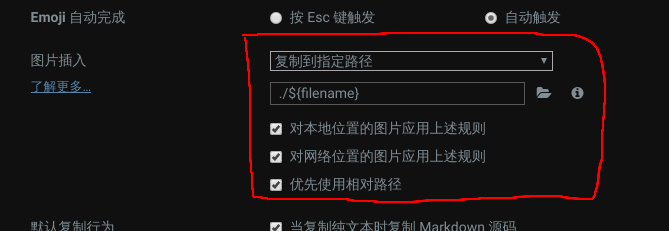
用来插入图片,因为图片的相对路径什么的比较麻烦,这里使用这个插件并且配合typora的设置(如图)即可高枕无忧
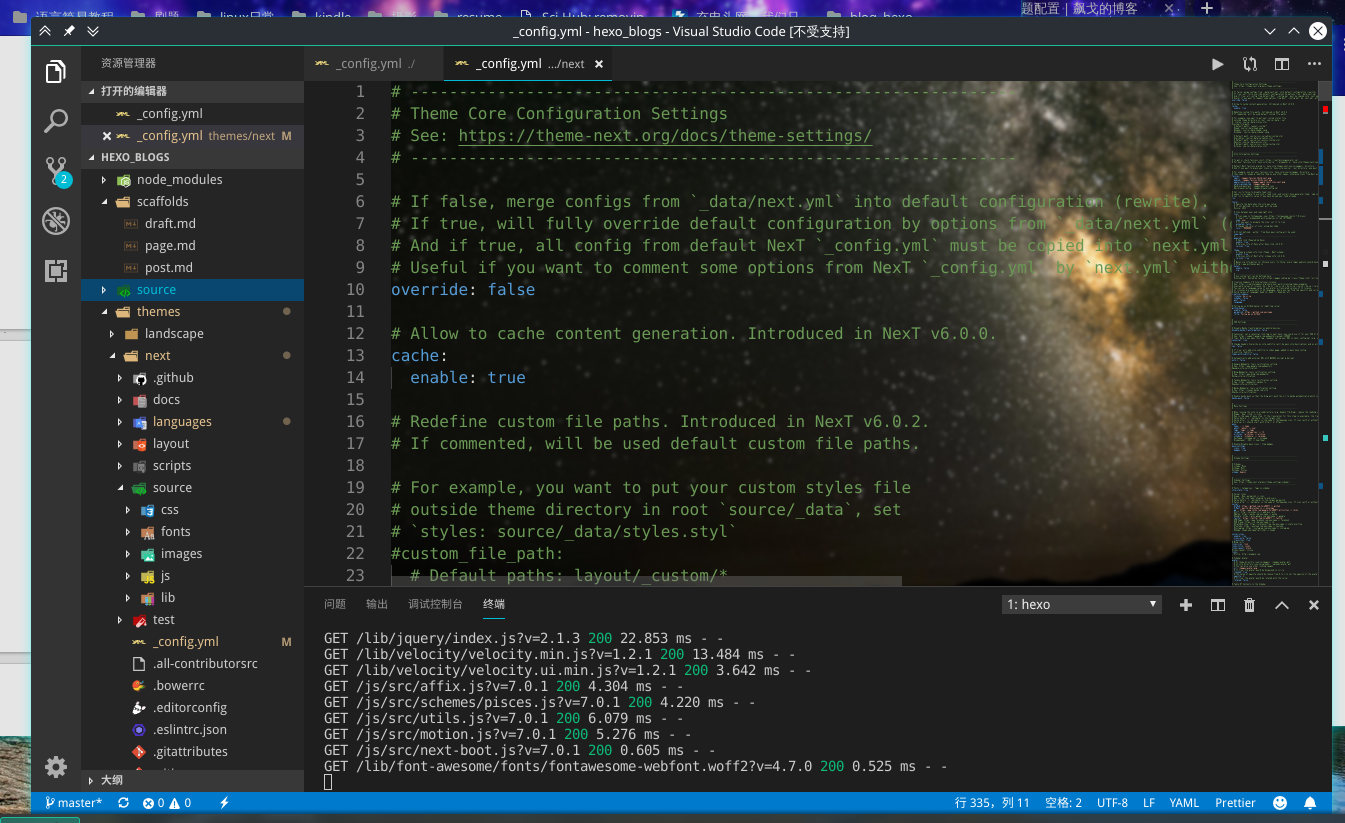
哦差点忘了说还得改hexo目录下config,如图改成true即可。

hexo-math
用来支持latex的
hexo-renderer-pandoc
因为hexo本身不支持latex,hexo-math不够,还需要一个markdown渲染器。
这里要记得先卸载原生的渲染器,再安装新的。
1 | npm uninstall --save hexo-renderer-mark |
选择pandoc的原因主要是参考这篇文章1。pandoc帮我们解决了很多问题,而且自带比如注脚、上下标之类的md拓展语法。
另一个有趣的作者推荐hexo-renderer-kramed,并且提供了其中latex支持性的修改方法2
不过提一句,我很喜欢一个作者的悬浮注脚插件3,不过和pandoc不兼容,不知道pandoc有没有这方面的功能。
hexo-filter-flowchart
忘了在哪看到了,很棒的流程图插件(虽然我还不会写)
主题
就用拓展性和实用性目前都很强的NexT主题84,这个主题可以在里面配置math等,很方便。它本身也提供了很多插件。
1 | git clone https://github.com/theme-next/hexo-theme-next themes/next |
配置
前面已经提到了诸如git部署、post文章和资源等配置。
hexo最关键的配置就是hexo本身的配置5和其主题的配置6。
使用
1 | hexo d # 等于hexo deploy 一键部署到配置文件的git地址 |

